this is a page for
Category: Sew and Tell Project
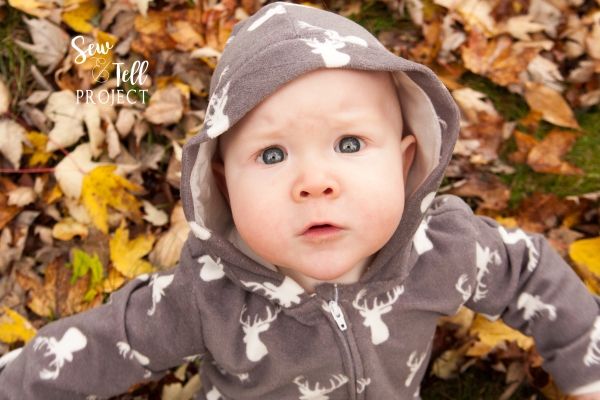
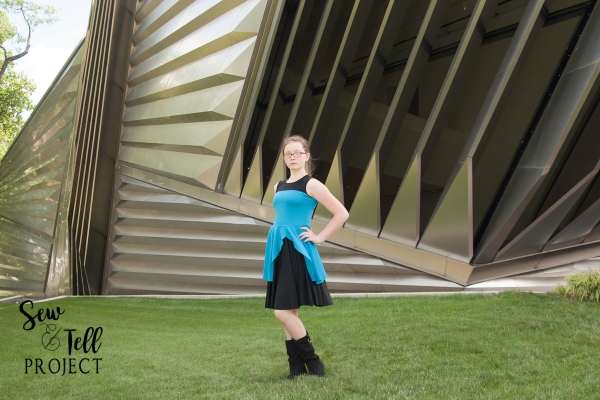
Amy from Peek-a-Boo Pattern Shop has done it again with this adorable Zipster Romper!
I think my little mister likes it, don’t you?
This romper is designed with a lined hood and cuffed arms and legs. You have lots of options, too–a full or partial zip, a patch or kangaroo pocket, a snap crotch for diaper changes, and an optional gusset (which is AMAZING for my little guy’s fluffy cloth-diapered tooshie!). The Zipster is available in sizes newborn through 4T.
A few days ago, I started a link-up for Project Run and Play contestants from Season 12 (and anyone else who sewed along) to share what we learned during the contest. I think all of us are getting back into the groove of regular sewing and blogging after the intense competition. Tami from SewSophieLynn and Miranda from Inspinration have both shared their lovely thoughts in our “Things I Learned During PRP” Link-Up that is open through tomorrow!
would like to thank all of the amazing bloggers on the tour. Please be sure to stop by and see what awesomeness was created! And don’t forget the guest bloggers participating each day on the Love Notions Blog!

If you are looking for a fresh new pattern for darling knit tunics and dresses for little girls, Simple Life Pattern Company has a treat for you! The new Isla’s Infinity Tunic and Dress is a darling new pattern jam-packed full of options. There are many sleeve options – tank, flutter, short sleeve, elbow length, 3/4 length sleeve, and long sleeves. There are also circular flutter options for the sleeves for some extra flair.
Peekaboo Pattern Shop has released an exciting new pattern just in time for holiday sewing – the Dreamland Nightgown! With two length options – knee and full – and both short and long sleeve options, this pattern is perfect for all seasons.
The pattern is designed to be made from knits. This particular one is made from a fun Doodles knit print from Joann Fabrics accented with fuschia cotton lycra from Peekaboo Fabric Shop. One thoughtful feature of this pattern is that the front is same as the back making it impossible for little girls to accidentally put their nightgowns on backwards.
We’re nerds.
There, I said it. We love Star Trek, Star Wars, Harry Potter, Dr. Who…well, let’s just say we like lots of geeky, convention-worthy things. My husband and I played AD&D well into our 20s, and I even LARP’ed now and then. And…we both played Magic: the Gathering. Husband calls our eldest “Number One.” Our kids are following right in our footsteps, and we watch Star Trek together often. Eldest and husband watched the entire Star Trek: Voyager series, then The Next Generation, and now they’re watching the Original Series. Good times.
The Sew and Tell Project team is still smiling from our “tied for second place” finish in Season 12 of Project Run and Play! Congratulations to Jessica from Gracious Threads for her well-deserved first-place finish!
We enjoyed making new friends during the competition and thought it would be fun to link-up with one another to share some of our “behind the scenes” Project Run and Play sewing stories. Since we are all busy bloggers (some of us still catching up from the month-long sewing spree) we have opened a link-up to share our stories as we are able! If you sewed along during Season 12 feel free to join in sharing your stories as well! We are so thankful to the team at Project Run and Play for organizing this friendly competition to inspire all of us who love to sew!
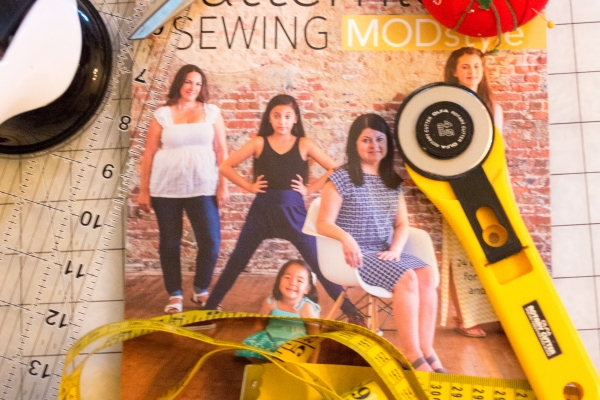
I am so excited to share a special book review with you today! I was delighted to receive a copy of Patternless Sewing: MODstyle by designer and author Patty Young from C&T Publishing. Patty is one of my favorite textile designers, and I love following her blog to get the latest on new pattern releases from her pattern company Modkid.
First I want to give you a short review of the book before I tell you about my first project. You can grab a copy here!
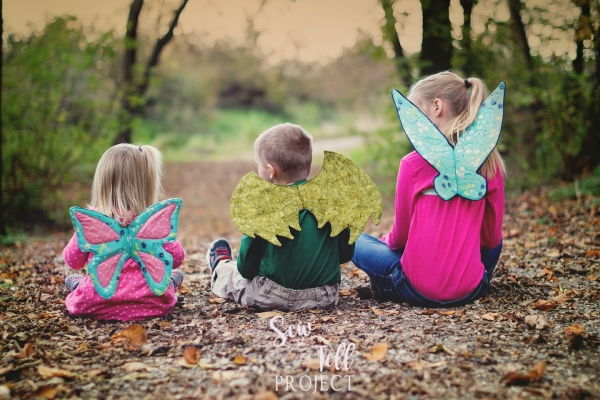
I tested the newly-released Wonderland Wings by Peek-a-Boo Pattern Shop. The Wonderland Wings pattern includes three unique wing shapes: butterfly, fairy, and dragon. Testers also used the shapes to make angel and bat wings! This is a very versatile pattern to be used for Halloween or everyday dress up. I finished each pair in about 2 hours from cut to finish. The wings are made with 2 layers of very stiff interfacing to give them a nice shape! I was intimidated at first to sew with two layers of Peltex 71F on my little machine, but the tutorial includes tips and suggestions to make it easier.
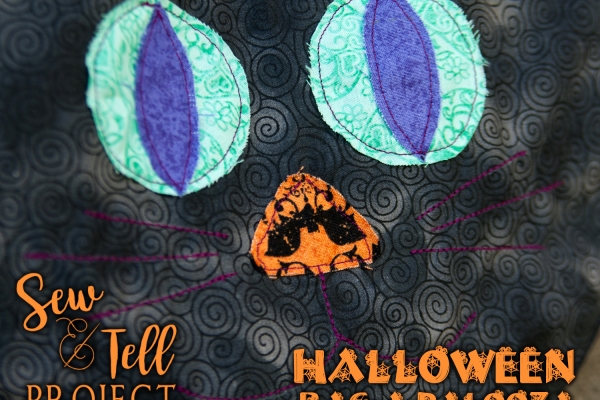
Halloween is just around the corner, and I’ve got a Kitty Cat Treat Bag for you today, with a super easy tutorial to make your own!
This bag can be made by a beginner, although it does involve sewing a strap and several curves. Don’t worry, you can do it! You’ll need about half a yard of your base fabric; that will be enough to cut your bag pieces, lining, and strap. You’ll also need some scraps to make the appliques for the front. I’ve made a spooky Halloween cat, but this shape easily lends itself to a Jack-o-Lantern or pumpkin, too! While you can just pin the applique pieces down, I highly recommend using some sort of double stick interfacing or tape to hold the pieces in place while you stitch. In addition, you’ll need pins, a sewing machine, thread (I used a contrasting color), about a half yard of lightweight interfacing, tailor’s chalk or a washaway marking pen, a flexible measureing tape, and two round templates (one with a diameter of 12-ish inches, and the other about 8 inches).