PAB Bahama Mama Peplum Tankini and Bikini Bottoms Review
As I mentioned in Swimsuit Sewing Challenge 2016 and in my tutorial on sewing a real bra into a swimsuit pattern I made myself a couple of new swimsuits last week!
The Bahama Mama Peplum Tankini top and Bikini Bottoms released yesterday. I wanted to share some more details with you about the pattern, the adjustments I made for my height, and some fabric shopping and sewing tips I picked up in testing.

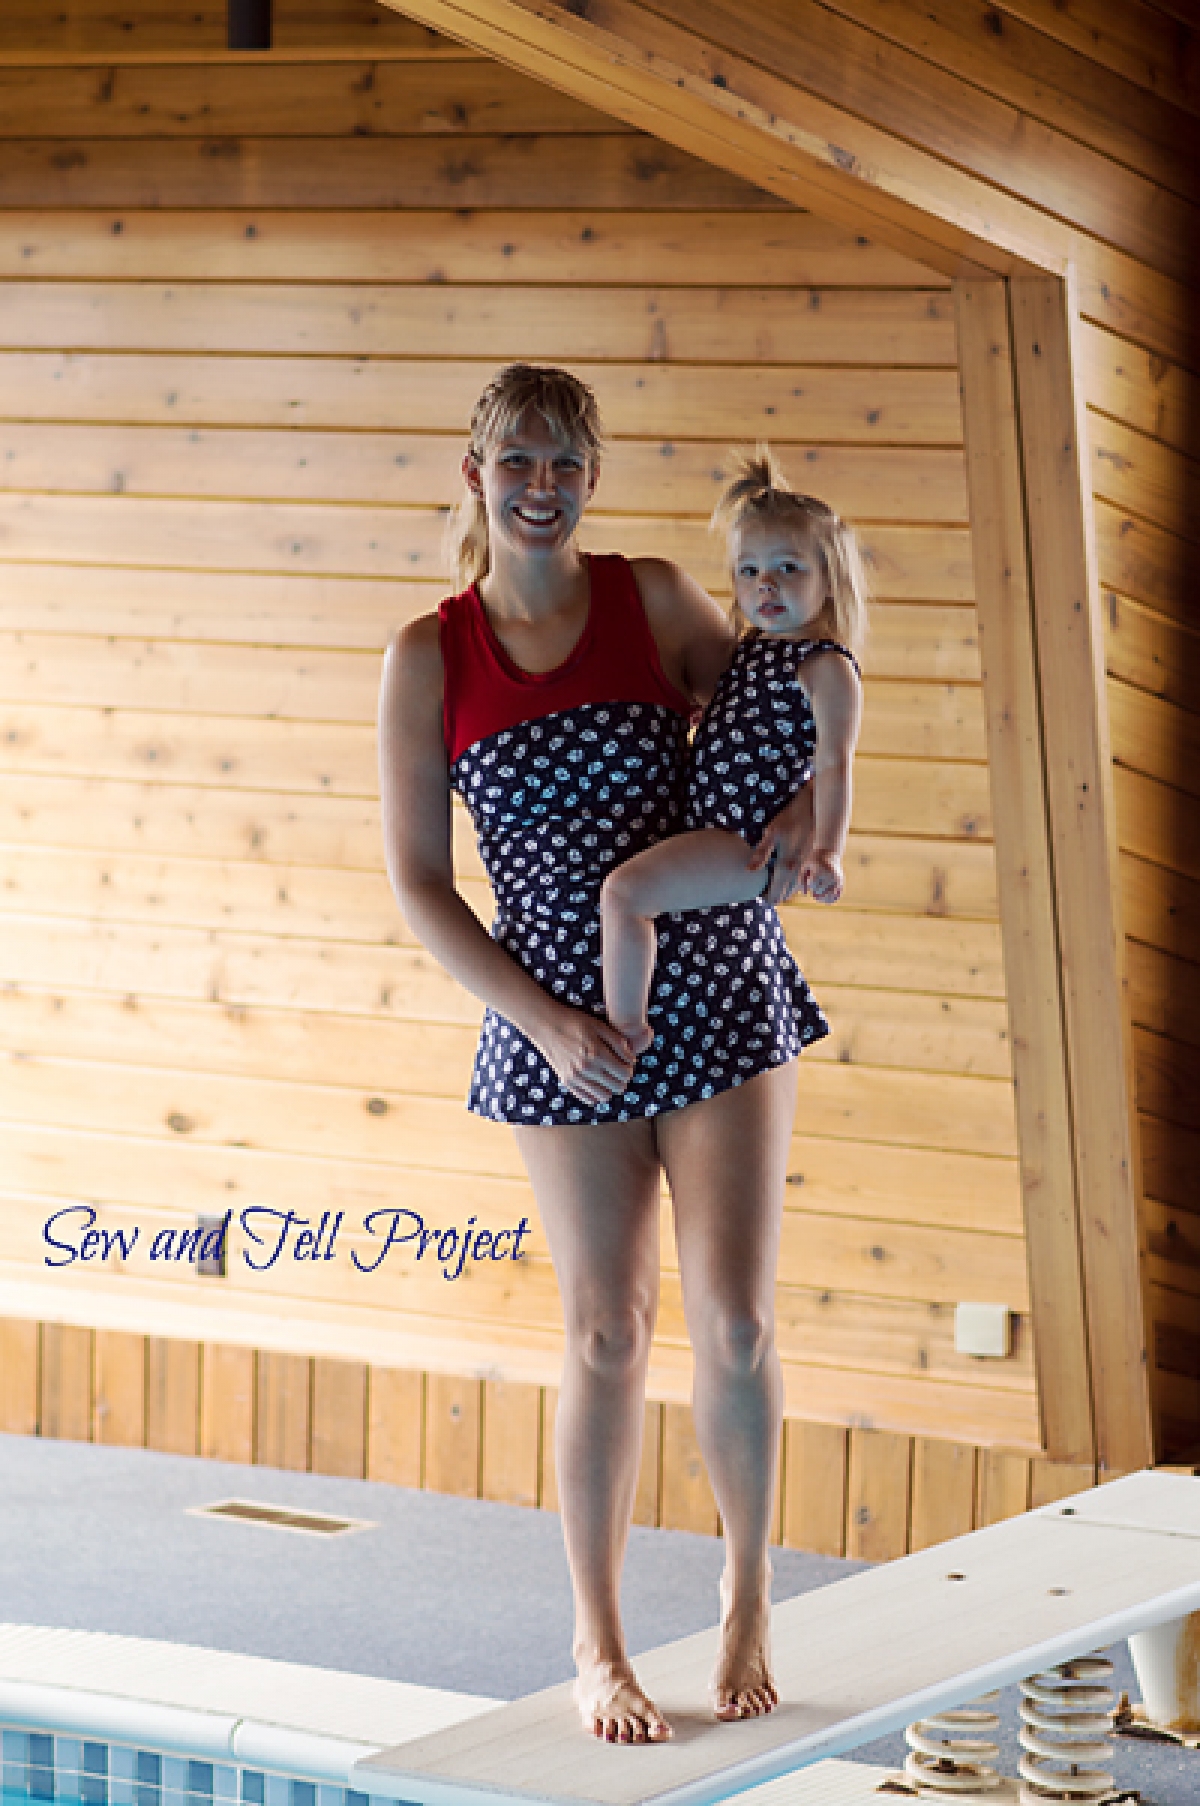
I purchased this adorable nautical sail boat fabric (close-up on my youngest) for $6./yard at a mill end textile store when I went down the road 200 miles to visit my godson. I was also shopping for fabric to match my mom’s wedding gown (when I turned it into my oldest’s First Communion dress). I was on the fence about even purchasing this because I wasn’t sure if I’d try sewing swimsuits again, but decided I could always give it to a braver friend.
For the coordinate, I used red swim knit from JoAnn Fabrics. I had originally planned to buy white or navy, but they did not have any at my store. I am actually glad as I think the red coordinates with the nautical to make this a retro-looking suit. I also purchased white swim lining there as they did not have nude. I was very happy with the lining, but hope to try using power mesh on my next pair of bikini bottoms for some tummy control and see if that gives the shelf bra more support. If you read my bra hack yesterday, you know I found a way to get great support and shape in my new suit!

You will notice that a lot of the garments I feature on this blog are made with patterns from Peek-a-Boo Pattern Shop. There are two reasons for this : the obvious one is I have tested several patterns for them over the last year, but I was also a big PAB fan before I started testing and I still use PAB patterns 80% of the time because I know what to expect in fit. This pattern was no exception.
I sewed the size Large tankini. I first cut the peplum skirt along the Large waistline and extended it to the XL length. I then decided to be less lazy add the length to the front and back bodice pieces instead. I did not want to risk the waistline hitting at the wrong spot on my body. I often go ahead and remake the paper pattern piece to add this length, but for this, I just cut carefully on my cutting mat, and used a ruler and my rotary cutter to add 2″ to the bottom of each piece and matched the tapered angle along the side seams.
I went ahead and kept the extra length on the skirt (about 1.5″ longer than the straight Large). One of the nice things about the way this pattern is assembled is that you can jump ahead if you’d like and assemble the outer layer before the lining so you can make sure you like the fit and length. I decided that if I felt the skirt was too long when I was done, I could serge off the extra length, and hem. The pattern tutorial also includes good tips on times to check fit, and the shape is easy to adjust.
My bust line is on the fuller side (34DD) but I did not find the need to make any full bust adjustments to the pattern. I honestly did not have nearly as much difficulty working with swimsuit fabric as I expected. The only part that I found difficult was the binding. (You can see some puckers and waves still in my final version, but it is MUCH better than my first). The red swim knit from JoAnn’s is VERY slippery. While I love having a brick and mortar store to feel the fabric, I honestly will not work with their solid swim knit again. I mitigated the slippage on my final suit by zig zagging the long edges of the binding before applying. It still wanted to move on me in a couple of places but it came out MUCH better.
Why am I so certain that it was the swim fabric and not me or the pattern?

I made a crop top hack because I’ve been wanting to try a retro long-line bikini for some time. When I made my crop (after my first peplum but before my final that I used for pictures), I used a matte printed swim knit that was just a bit thicker (from Wal-Mart a couple years ago!). It went on beautifully with no puckering at all. I ALMOST used my nautical print for the binding because of this, but foolishly decided not to. Learn from my lessons, people.

Finally, I was really on the fence about sharing my crop top version of this in blog land. However, it has been well-received in pattern groups, so I decided to share it here in case someone was looking for a way to make this particular style. For the crop, I left the skirt off (did not add 2″ to the top) and finished the edge with swim elastic to keep it from floating up. You can adjust the length shorter or longer – just be sure to adjust your swim lining accordingly.
The bottoms are the low-rise bikini bottoms. The high-rise go up to the natural waist and I made those in red to go with the peplum. I initially tried to pair the crop with the Bahama Mama Boy Shorts but it looked more like gymnastics wear, but I love how it looks with the low rise bikini bottoms and think it makes a nice, sporty two-piece.
So who is joining me on our Swimsuit Sewing Challenge 2016? Genie? Alisha? Emily? YOU?
We love to hear from you! Leave a comment below!


Related Posts

Ramona Quilt Featuring Lady Bird Fabrics!
Hello quilting friends!
I’ve slowly been trying to get back into the swing…
Blessed Carlo Acutis Book Review
Hello, friends! I know it’s been a bit since I’ve shown…
Jodi | 1st Apr 16
You did so good! I actually like your cropped version best. 🙂
MadebyEleri | 5th Apr 16
Thanks, Jodi! I wore it down a big water slide this weekend and it stayed put!
Marie Vetter | 1st Apr 16
Love this! I do like the cropped version, too. You rock, Eleri!
MadebyEleri | 5th Apr 16
Thanks, Marie 🙂 I’m glad it’s popular because I have waaaay too much swim fabric now!