My Hexie Quilt Work Flow
It feels very odd to be writing another post on a “work-in-progress.” Usually my posts are a big reveal.
But maybe the reveal for me is that it’s okay to slow down a bit with my crafting. I am still sewing for my kids and myself. In fact, I have several garments in progress or completed that I can’t share yet.
I don’t talk about it much (or at all) on the blog, but my first foray into “I craft more than socially acceptable” was actually in the knitting and crocheting world.
About four years ago though, I realized I no longer really enjoyed knitting or crocheting. Most of it was due to physical discomfort – my wrists just don’t take to it like they used to. But I discovered when I went to Quilt Market last fall, that I missed having a relaxing portable craft. I even teased my friend that I was traveling with that we ought to buy a cheap sewing machine to avoid withdrawals.
On my return flight, I watched the woman next to me English paper piece. She was creating a block from The New Hexagon by Katja Marek. As we chatted about market, and sewing, and her quilt shop, I marveled at this gorgeous block that just came from her hands with precise corners but no machine nearby. Since I was so frustrated not having a portable project to work on during market, I vowed to learn more when I got home.
I’ve been working on a hexagon quilt on and off for my daughter since November. You can read more about some of my initial thoughts and experiences with it here.
Over the past month, I’ve made a ton of progress on my quilt and it is coming together quickly now. I want to share my tips for a successful and peaceful project! This post contains some affiliate links. Many of these materials can be found at your local quilt shop, but I am sharing links for your convenience.

My last post talks about some of the resources I used to get started. I still recommend reading up on EPP before starting. It is very simple, so I will not demonstrate the technique in this post but I am happy to answer any questions. I especially liked this book by Diane Gilleland as a general resource for starting.
After my initial preparation of my EPP squares, I keep all my supplies in this double decker tote by Sterilite. A hard-sided case will ensure you don’t lose any needles.

I rarely access the bottom level of my tote. I store my growing quilt top in there, extra squares (more on that later), and the yardage I am using to complete my project. I have also been keeping a book on EPP with me for reference or to look at for inspiration. As my quilt top grows, I am finding that I am only working on adding directly to it in environments where I have enough room and where I can ensure it does not get dirty.

The top of my locking tote is what I am usually needing to access while I work. I love that I can also detach just the top level and carry it with me when I’m going out for the day and want a project to work on while waiting at an appointment or going to a friend’s house. Last Saturday, I sat in on my Weight Watcher’s meeting with just the top tote on my lap and sewed my hexies into pairs. Divine and enjoyable!
Without further ado, here is a flatlay of my all-stars for beginning to paper piece! There are a few things I tried that didn’t work out, so they do not have a spot in my EPP kit. It looks like a lot of little tools, but they all fit nicely in my case and help my work flow nicely.

- Scraps or a fat quarter bundle. I am using this fat quarter bundle I scored at quilt market. Since I do not have much experience quilting, I knew a bundle would allow me to have a scrappy look that still coordinated well. I then cut this down into precut squares. (Tip: After you cut your FQ bundle, sort your squares evenly into sets of mixed prints. I work this way so I can make sure I’m balancing my prints as I add more hexies to my top. I don’t want my quilt to be “lopsided” in color or print.)
- Fiskars Razor Edge 5″ scissors. I LOVE these scissors. They are sharp enough to snip threads, but long and sharp enough that I can trim away a bit of fabric if I need to. The blade is also shrot enough to meet the TSA requirements for security. I also use them to snip and pull my basting stitches.
- Dritz Comfort Thimble – A thimble is a must for comfortable sewing. I’ve tried a few and this is my favorite. If you go to your local store, there is a hole in the back of the card where you can make sure this one fits (on your middle finger)
- Aurifil 80 weight thread. I’ll expand on why at the end of this post. Just trust me on this.
- Paper Pieces. I purchased these 1.5″ hexagon pieces at my local quilt shop. They are from Paper Pieces. I have been able to reuse most of my hexagons during this project. I have tried a few other brands and these are my favorite weight and texture to work with so far.
- Wonder Clips/Sewing Clips. These are essential for holding your fabric folds in place while basting your hexagons.
- Wrist Pin Cushion: This is an essential for picking up and putting down your needles. This makes EPP far less finicky. The one that I linked to (pictured above) does the job, but I do find it a little itchy on my wrist after awhile. I do like that I can clip my wonder clips on the edge as well. I will probably make a more comfortable one sometime soon.

8. Small pouch for completed hexies. I like to keep my hexies organized as I make them. I usually baste 30-40 at a time and when my pouch is getting full, I start to sew them in pairs. After I sew them in pairs, I spend time adding them to my quilt top.
9. Beeswax – I am not using this very much since I switched over to Aurifil 80 weight for piecing. It does however still help the store-brand general purpose thread I’m using up for thread basting.
10. Lint roller: I grabbed a mini lint roller at my local chain store. This is handy for making sure I’m not leaving thread where I’m working (especially if I’m not home – let’s not be rude, dears).
I also like to make sure my clothing isn’t covered in thread. I keep a jumbo sized one on my sewing table at home, so why not a small one in my EPP kit?

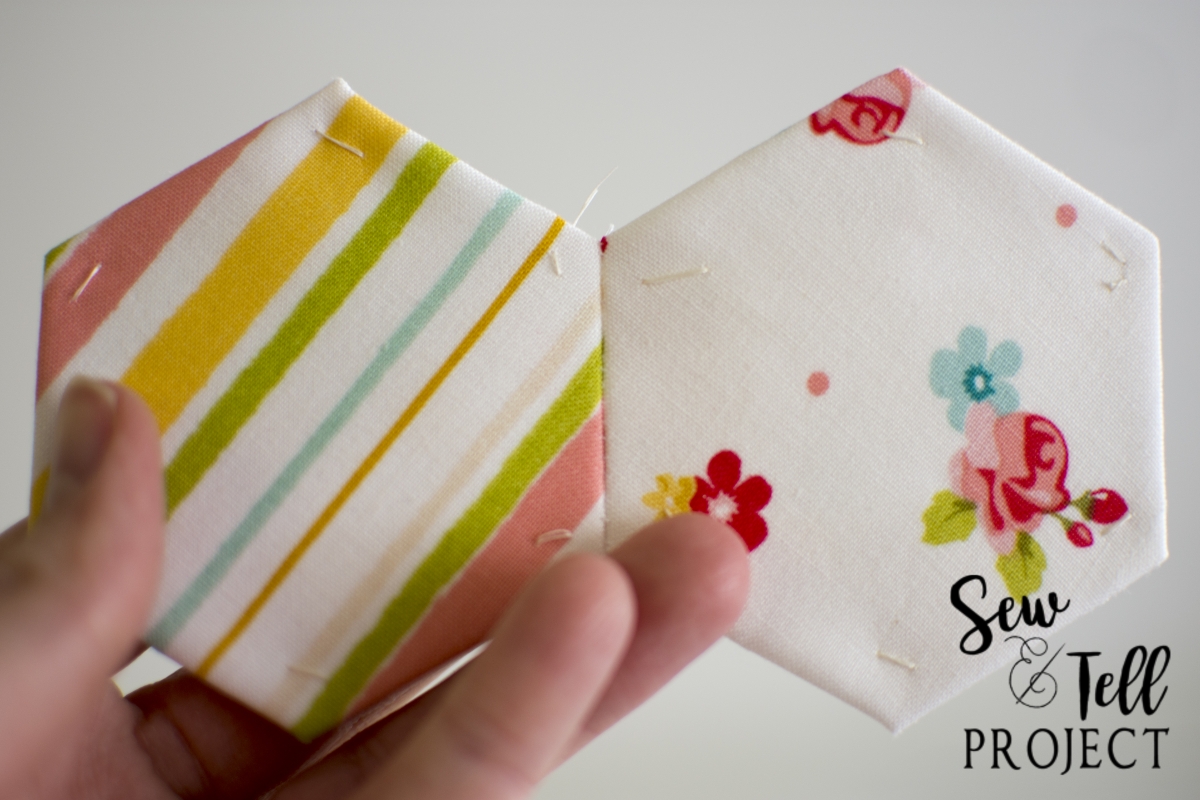
You can see, that I’ve varied a bit how I’m basting my hexies together throughout the process. It’s okay to change your techniques. I was just basting by tacking in the corners, but I found by the time I was ready to piece my quilt, sometimes my papers were working their way out. Sewing through my paper has produced the best results for me.

I promised I would talk a little bit about thread, too. This is very exciting for me. When I started this project, I began with all purpose thread and was frustrated with the twists. I then switched to a thread specifically for hand quilting, but found that it was very wire-y and rough on my dry, winter hands. I was also struggling that the thread had a lot of twist to it, so I was getting knots (hence the beeswax in my kit). I finally ordered 80 weight Aurifil thread and it has been a total game changer for this project. I am still using up some of the other thread for basting my hexies, but I just love how the Aurifil thread disappears between my hexagons. I don’t consider myself very talented at hand-sewing, but this Aurifil 80 weight is such a breeze to work with!
I know there is a ton more I can say on English Paper Piecing. But I am a beginner and am still doing my first (albeit large) project. I do have some mini-EPP projects in the early stages (collecting materials, planning). I have also ordered some plastic templates to give those a try. Glue basting is another method I plan to explore. For uniformity, I plan to stick to the method and supplies I talk about in this post for this project, but I am still exploring to see if there are other methods and shapes that inspire me and improve my work.
Do you do English paper piecing? What should I try next? Are there any must have tips, tricks, or supplies that I should know about?
Make sure you follow me on Instagram to stay caught up with this creation!


Related Posts

Ramona Quilt Featuring Lady Bird Fabrics!
Hello quilting friends!
I’ve slowly been trying to get back into the swing…
Blessed Carlo Acutis Book Review
Hello, friends! I know it’s been a bit since I’ve shown…
Felicia | 27th Mar 17
Now I need to learn something else…. YouTube to the rescue!! Can’t wait to see your finished quilt top!
MadebyEleri | 28th Mar 17
I definitely plan to write another post maybe on method….. The general method is pretty straight-forward, but there seems to be a bit of a variety on how people do things, so I just stuck to the tools I actually use.
My quilt top is about 1/3 of the way done now! I plan to finish it to be a generous throw size for my little girl.
Nancy R | 29th Mar 17
I make my own templates on freezer paper and then iron them on the fabric. Prevents the paper coming out too early, so then I don’t baste through the paper–just at the corners. If you put a hole with a hole punch in the middle it is easy to put a crochet hook or needle in and pop them right out. You can reuse the paper template 2-3 times. Only drawback is cutting them up. There are tricks for that as well.
Mary Ann | 29th Mar 17
Thanks for the tip on Aurifil thread for joining the he hexies together. I really enjoy this portable project. survivor972002@midco.net
Mary Ann | 29th Mar 17
Thanks for the tip on Aurifil thread for joining the hexies together. I really enjoy this portable project. survivor972002@midco.net
Lorena | 29th Mar 17
I tried gluing but I think I like thread basting better. The glue may be faster but I don’t like the sticky fingers after a while. I am also fairly new to EPP but I do enjoy it.
Sherri | 9th May 17
“I craft more than socially acceptable”!!!! You crack me up! And yet I totally relate. I recall sitting in the living room crocheting with my 2 roommates back in the day and we would close the curtains so no one would see us and then we’d laugh at ourselves. I love it.