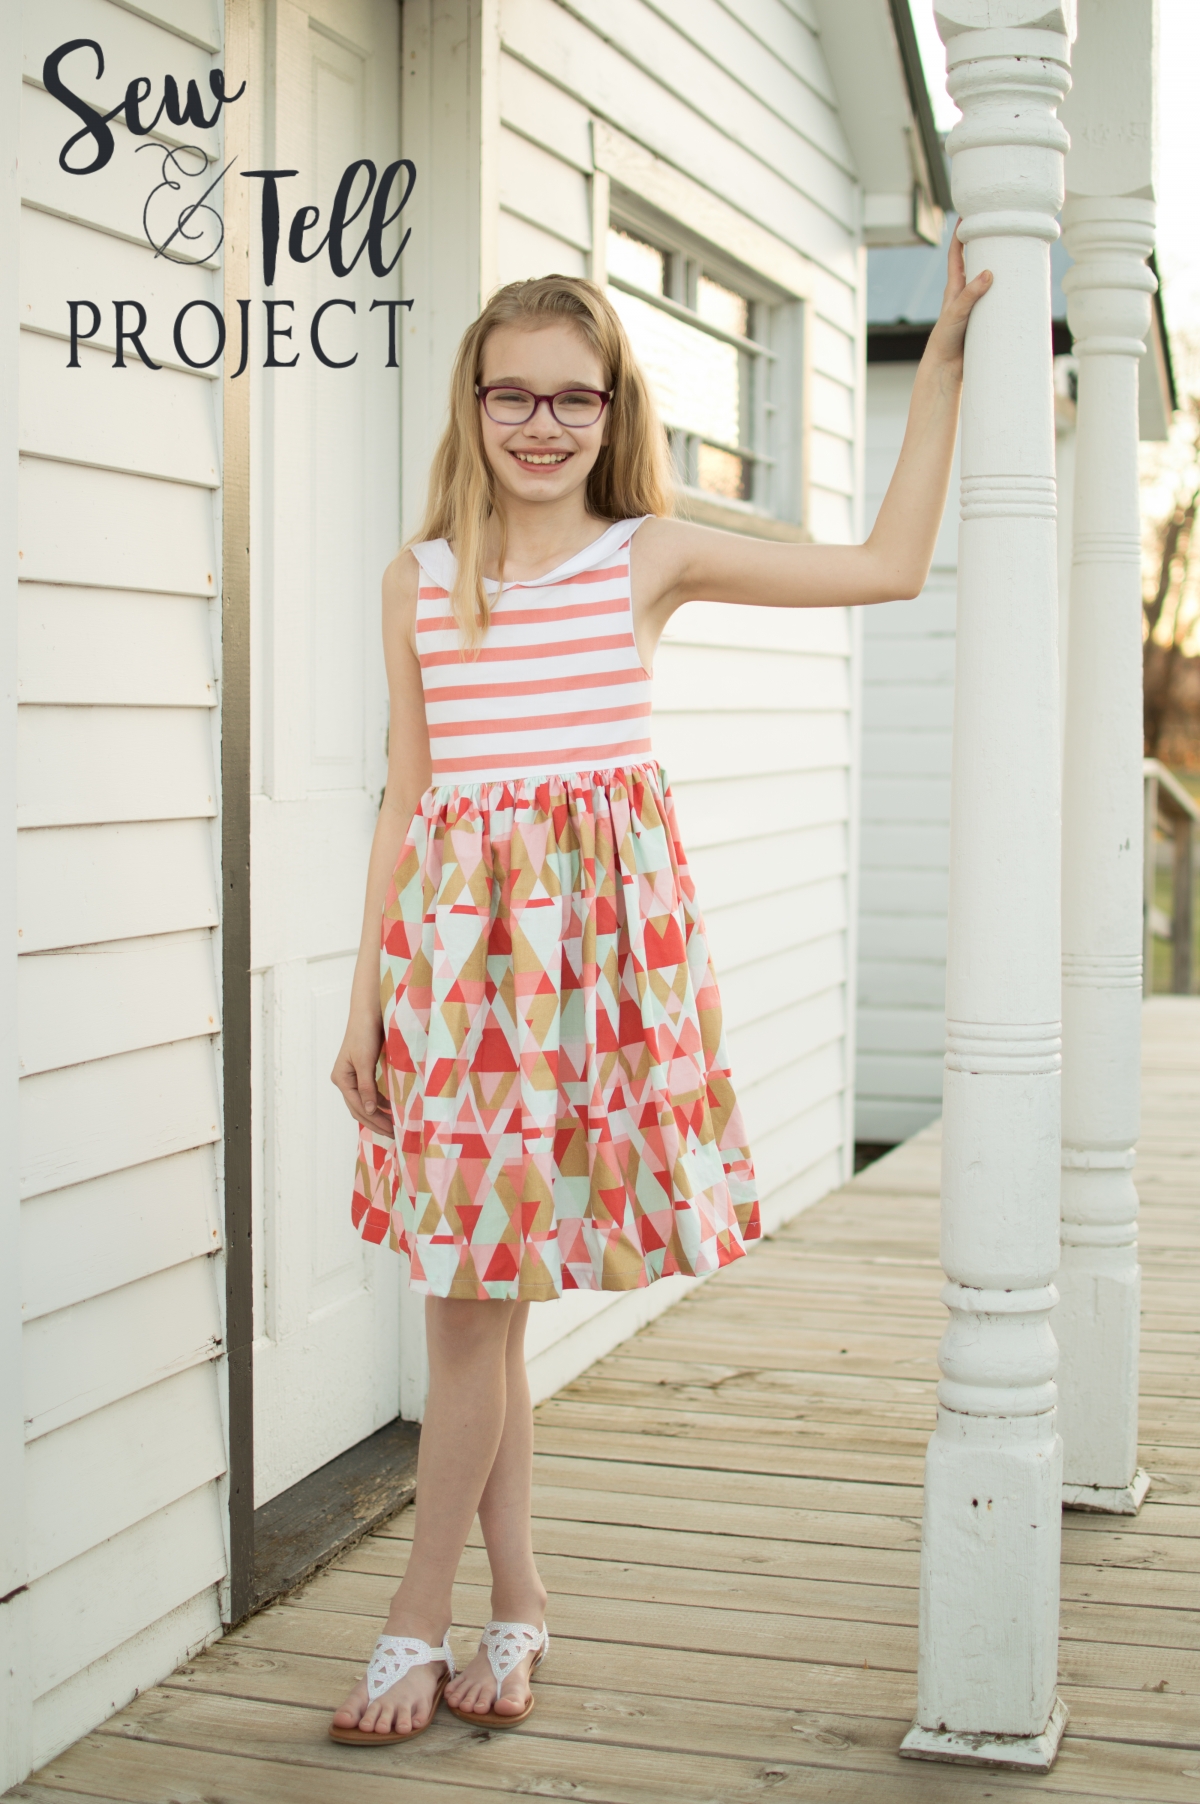
The Molly and The Sophie by SLPco

Hey guys!
I have something new to share today! I took a short break from sewing to celebrate my daughter’s First Communion and it feels so good to be back in my sewing room – and even shooting outside on a night like yesterday’s!
Today, I’m going to share the newest releases from the Simple Life Pattern Company, Molly and Sophie.
As soon as the Molly and Sophie bundle released, I purchased it, and I made a muslin. I have some gorgeous Art Gallery denim that I want to use, but before I cut into it, I wanted to be sure on how I would blend sizes for my oldest. She has a very tall and slender build and I really like to pay attention to getting the best fit possible especially with woven designs.
The part of me that wanted to be “safe” wanted to choose the Sophie because it has a narrower scoop back and I am a mom who always opts for the fuller-coverage option when sewing for my daughters. But, I have now sewn several designs from SLPco and know that I will achieve a great fit if I pay attention to the size chart and blend sizes where needed, so I decided to bite the bullet and go for the Molly as my first project. Who could say no to that adorable Peter Pan collar?

I chose to use two prints from a Brother Sister Designs collection from Hobby Lobby for my “wearable muslin.” I blended the size 7 width to the size 12 length and achieved a perfect fit everywhere except the armscye as I was indecisive about which line to blend along since she is tall but her arms are also slender. I actually made a second bodice (it goes together fairly quickly for a lined dress) with a higher armscye. I posted in the SLPco Fan Group and polled sewing friends about which looked better and got mixed results, so I went with the one that gave her the most comfort. She chose the bodice with the deeper armscye. The dress fits everywhere else so beautifully with no slipping of straps that I know she can wear it and stay appropriately covered.

I am just in love with the scoop back. I was also really excited to do my first “real” outdoor shoot of the year, although we kept it quick since the sun was setting fast!
Overall, I found the tutorial very easy to follow. Do not let the collar scare you off – I actually found it easier to turn the lined bodice inside out since I had the collar to grip onto while doing. The tutorial includes detailed step photos as well as a link to a video for the continuous bound placket if you have never done one before. As is the case in many PDF pattern design groups, help was available when I got stuck.
For my next one, I plan to blend the armscye height to somewhere between a size 8 and a 10 to give her more coverage, but not constrict her. If you want to make one of your own SLPco beauties but can’t decide which one, check out the comparison chart below, print your pattern, pick your fabric, and get sewing!

Related
Related Posts
Ramona Quilt Featuring Lady Bird Fabrics!
Hello quilting friends!
I’ve slowly been trying to get back into the swing…
Related
Blessed Carlo Acutis Book Review
Hello, friends! I know it’s been a bit since I’ve shown…
Related
2 COMMENTS
Leave A Comment
This site uses Akismet to reduce spam. Learn how your comment data is processed.


Karly Nelson | 24th Apr 16
I just adore the fabrics you chose and I’m completely in love with this dress!
MadebyEleri | 24th Apr 16
Thanks, Karly! It is such a fun sew!